Editing in premiere pro
Contents
Tool kit
The toolkit is an essential part of any adobe programme, becoming familiar with what these do will make your creation process smoother. Over time if you keep trying to use the shortcut keys, they become a reflex and make for even faster editing!
Razor Tool

Shortcut: C
Used to cut a clip in the timeline into two separate clips
Ripple Edit

Shortcut: B
Changes the overall length of the project
Selection Tool

Shortcut: V
Return to this tool preset as default
Hand Tool

Shortcut: H
Helps navigate back and forwards on the timeline
Text Tool

Shortcut: T
Add text to your video
Track Select

Shortcut A
Track select forward tool – this lets you select all of the clips in a sequence, either forward or backward.
Rectangle Tool

Rectangle Tool
Creates freeform shapes and paths
Slip Tool

Shortcut: Y
This lets you simultaneously change the In and Out points of a clip within your timeline.
Pen Tool

Shortcut: P
Click on any point on your clip to add a wide number of attributes, including opacity, scale, position, and even volume of an audio clip.
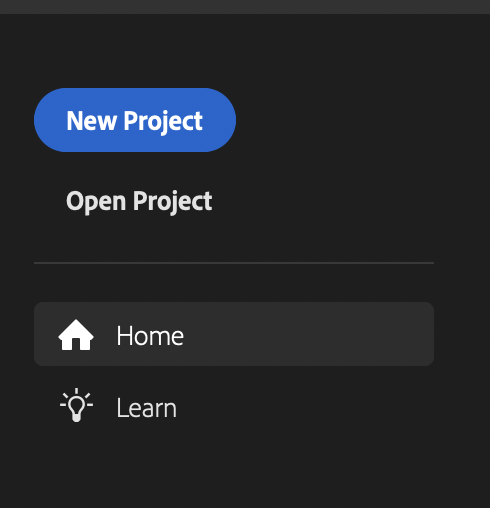
The basics of starting a new Premiere Pro project
Open Premiere pro and make a new project
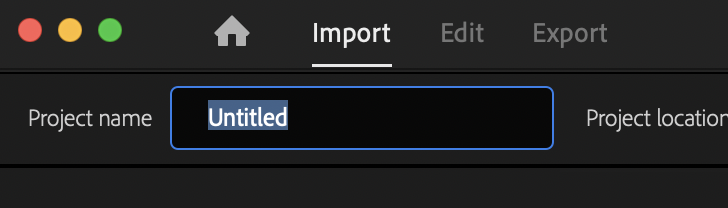
Name your project
In project location find an easy location to save and locate your project. Whilst here you can also name your first sequence if you want to select content to add already. For now we can skip the sequence name as we are not adding content yet.
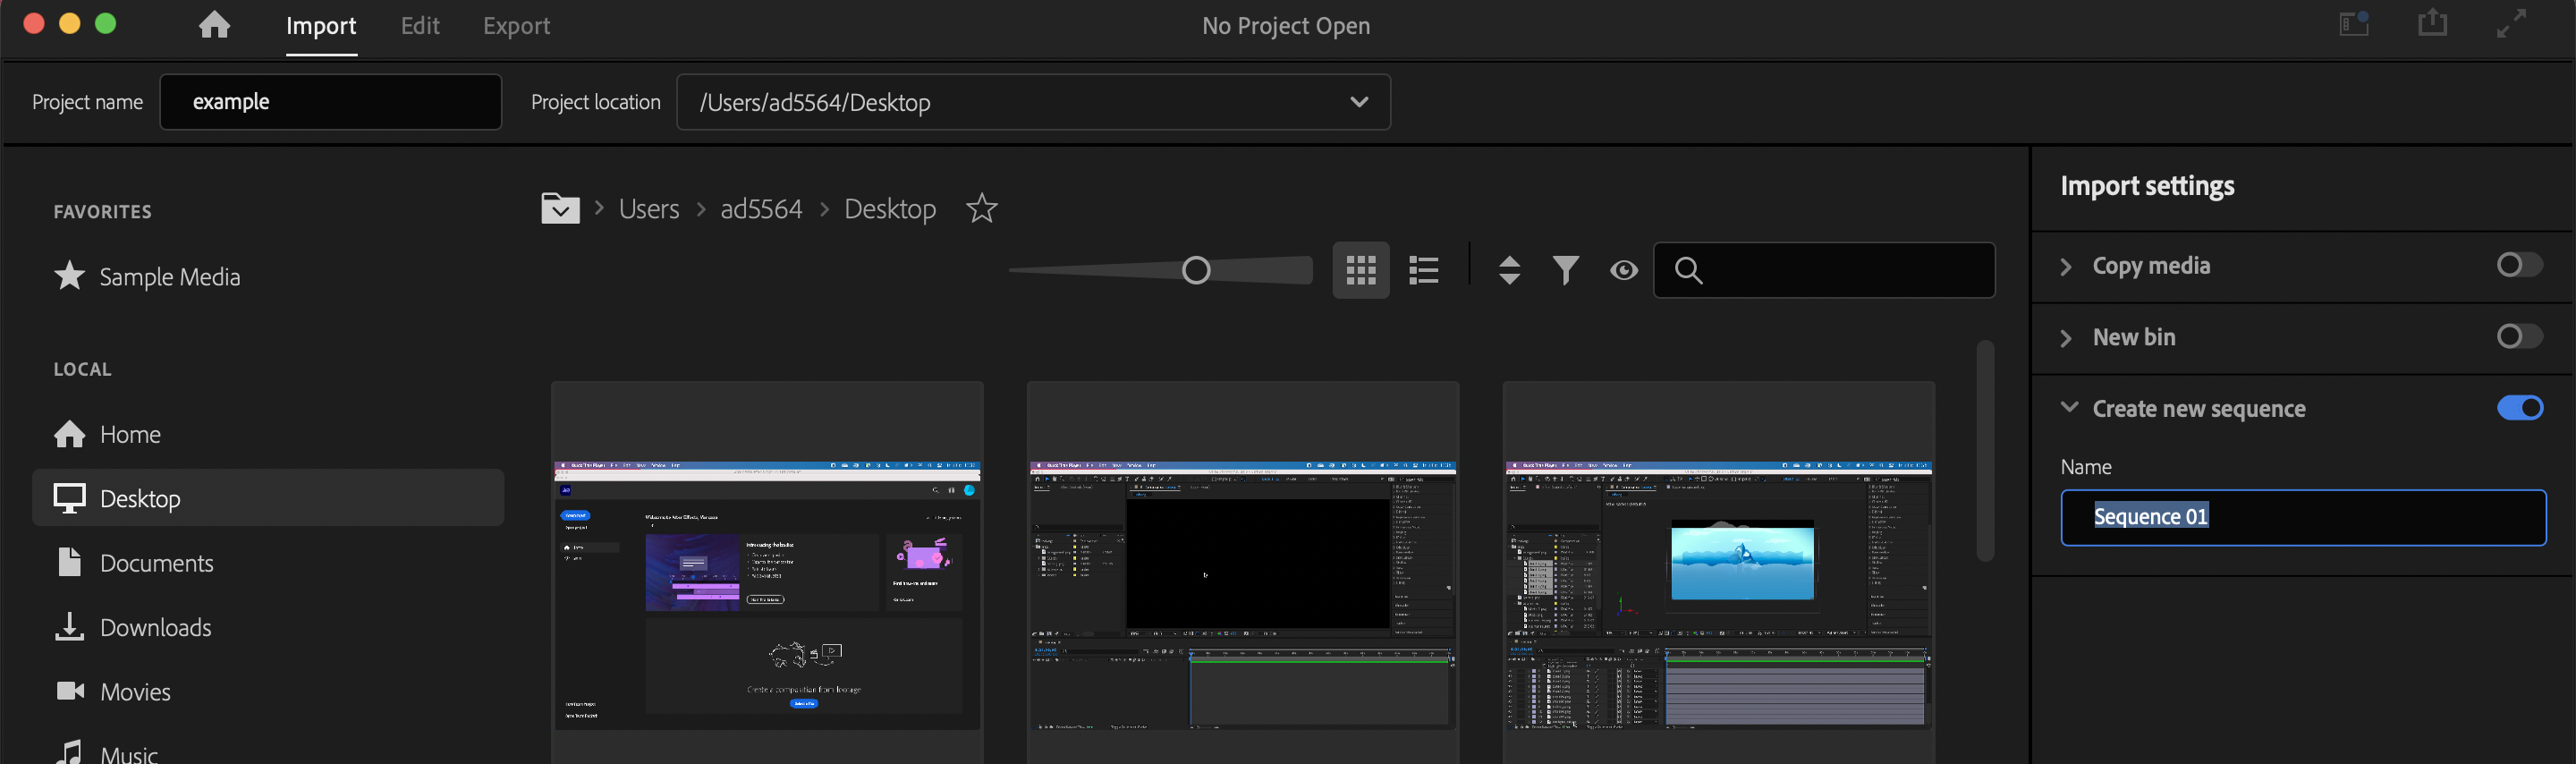
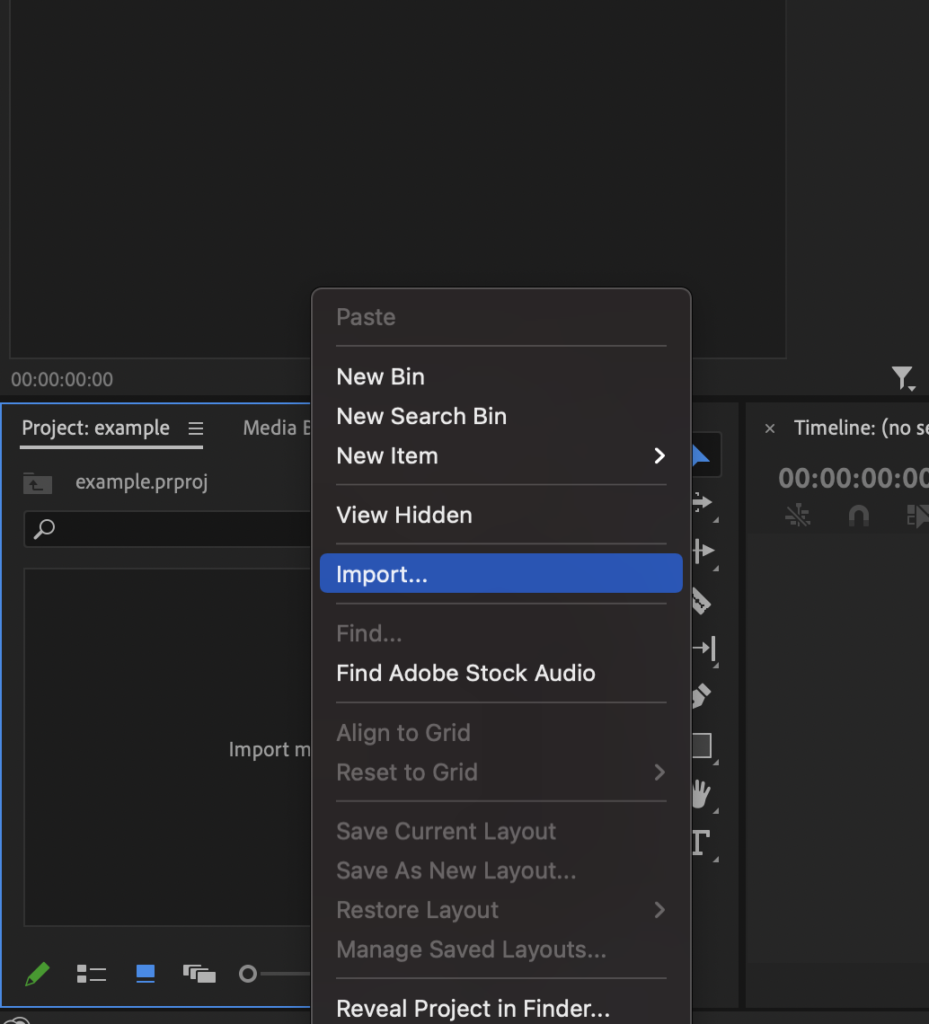
Right click over the ‘import media’ section and navigate to ‘import’. Locate your video you want to add.
Top tip: Before adding your file, move this to the same location as your Pr project in a folder for all of your RAW footage
Now we’re going to add our first sequence – you can do this by right clicking (the same as importing) and New Item – Sequence

Step 6 – Sequence settings and what it all means
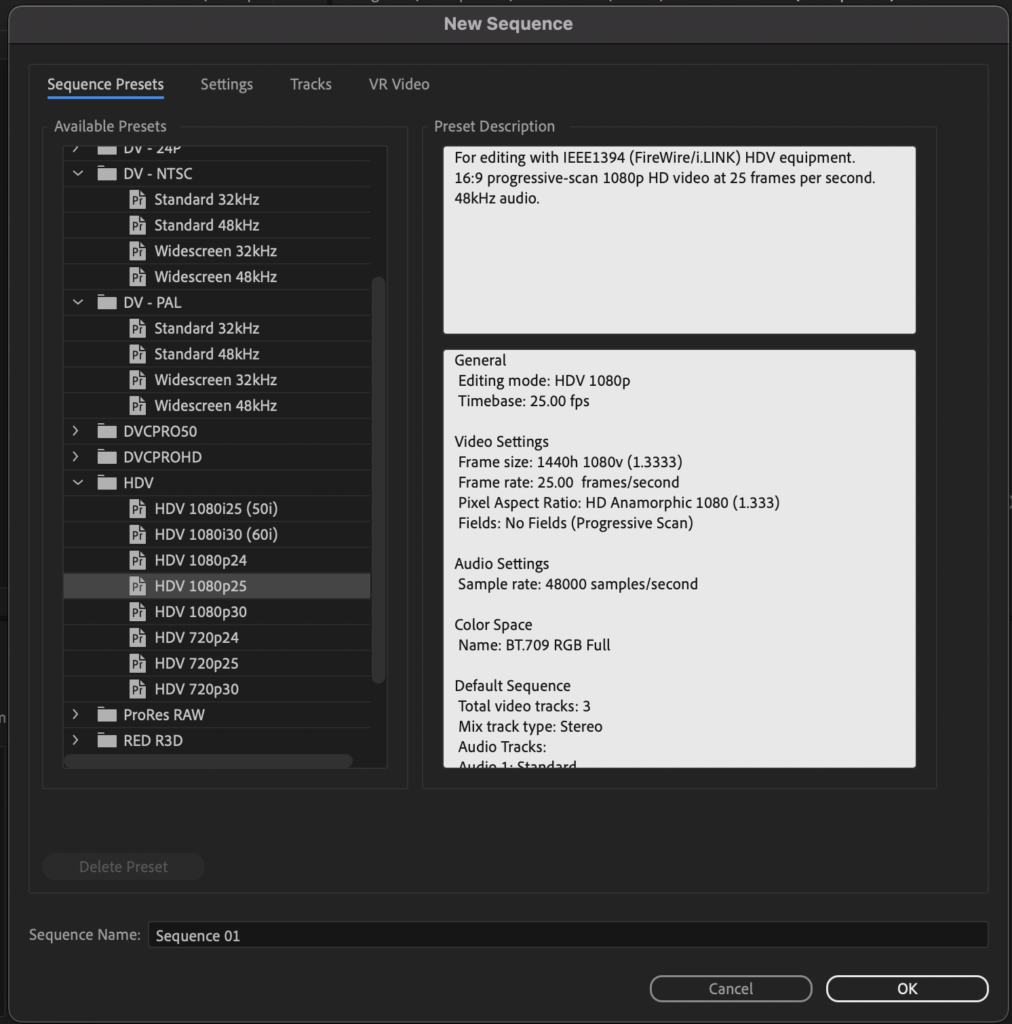
When you create a sequence you will get a whole range of choices. Right now it’s not important to know what they all are, just to understand why we are choosing this setting: HDV 1080p25
This is a combination of screen resolution, and the frame rate of the sequence.
Scroll down to learn more about both of these.
Frame Rates
Please note: These are the standards, not the rule! Frame rates can vary depending on what you are shooting!
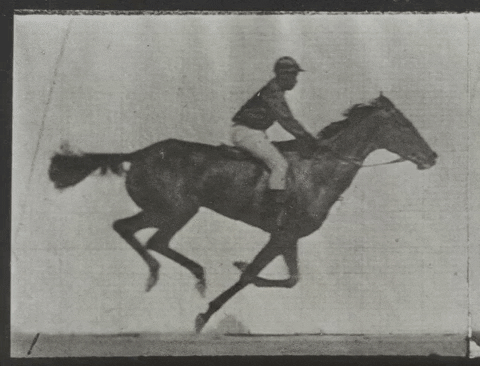
Frame rates refer to how many images appear per second to trick the eye into believing you are seeing a moving sequence. In the below Gif there is a counter in the bottom left hand corner signifying 15 images. These images were shot by Eadweard Muybridge to prove all four hooves leave the floor when a horse is in canter.
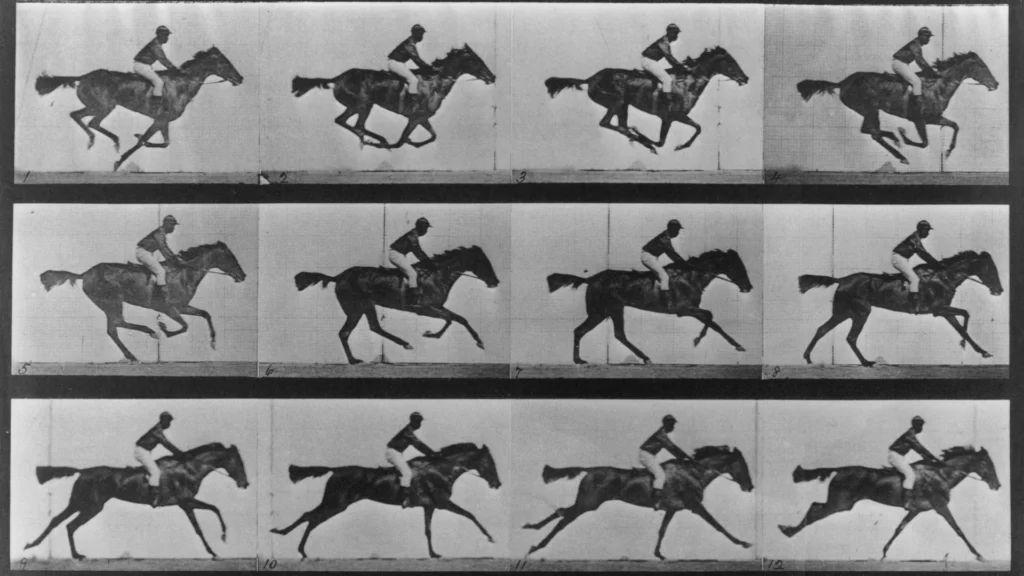
On the right below the break down can be seen of the images, which when played quickly trick us into thinking it is moving.
So why choose 25 frames per second? (FPS)
As an example British TV is 25/24 fps and this is believed to be the frame rate which most closely mirrors what our eyes capture in real life. The frames when recorded will slightly blur on fast motion.
In comparison, American TV is 30/29.97 fps, and this is often viewed to be smoother as each frame is captured more clearly.
So let’s watch an example of the difference between the two:
British TV = 25fps (50Hz) or sometimes as 24fps
American TV = 30fps (60Hz) or sometimes as 29.97fps
Video resolution sizes
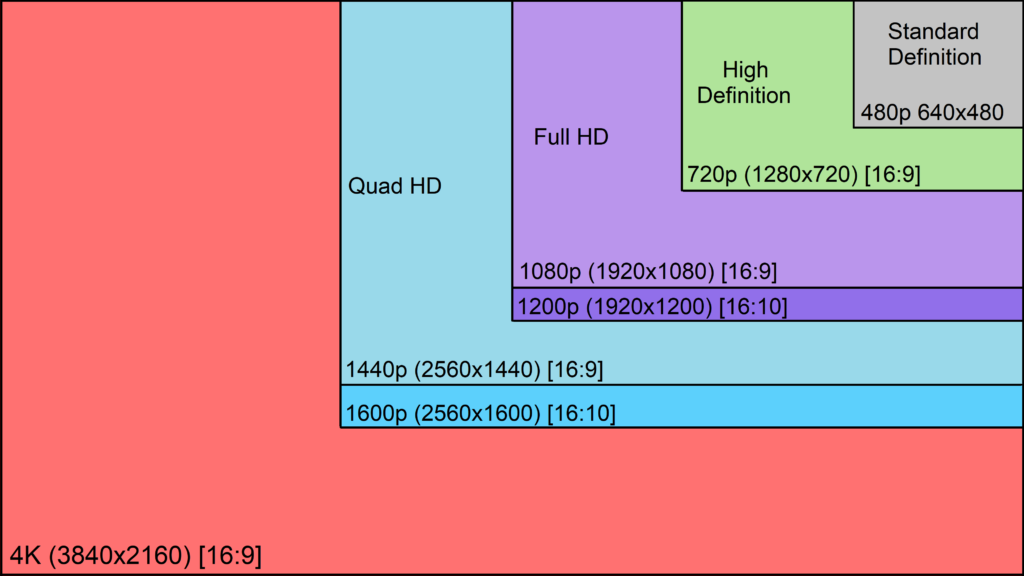
The image on the left shows all standard screen sizes. When setting screen size to edit, the easiest size type to work with is Pixels. For example, 1080P, which is full HD is 1920×1080 pixels in size.
It is not ideal to work in 4K as this requires an immensely powerful machine, and only used in cinema sized screens. However, if your machine is also struggling to edit Full HD consider using a proxy before the final export. Proxies will be covered in a later lesson.
This image shows the correlation between resolution and how clear the image will be in relation to the screen size.
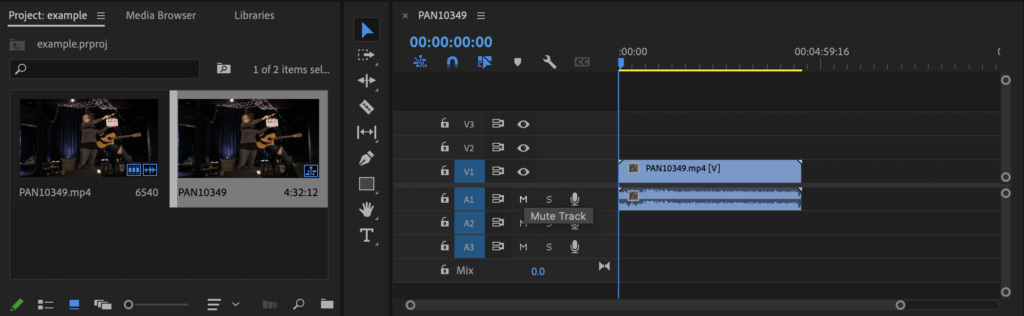
Drag your footage into the new sequence timeline by left clicking on the video and moving your mouse to the right before releasing.
If you find you are prompted with the message below, this is because your video settings do not match the sequence you just created. This is okay as we know the new sequence is correct.
‘Keep existing settings’ (this keeps the settings of the sequence you have just made, not the settings of the clip footage you have dragged in)


Colour grading vs colour correction
Colour grading: Altering the image to a different colour than it was filmed in, perhaps to elicit an emotion or a stylistic approach. An excellent way to see how this is used is by looking at screen caps of your favourite films.
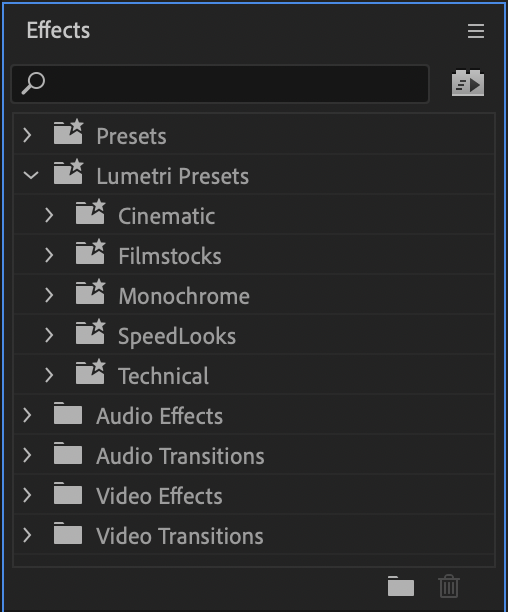
In Premiere pro, some preset versions can be found in Effects – Lumetri Presets
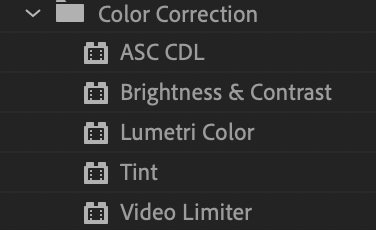
Colour correction: Fixing imbalances in the colour to correct how the eye should see it
In Premiere pro, these can be found in effects – color correction
The effects panel can help create a more professional feel for your videos.
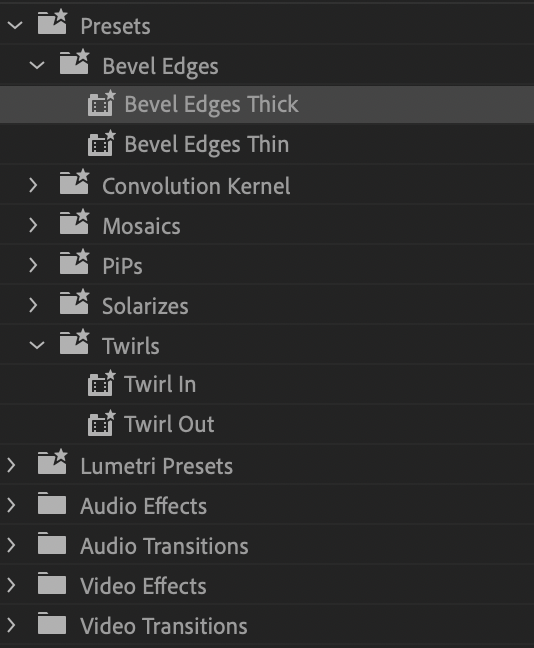

Presets are pre-made, customisable settings that you can easily apply to your videos by holding the chosen effect and dragging it onto the video.
Lumetri presets help to give a cinematic effect by changing the colours of the footage.
Video transitions are a great way to add effects, especially to help clips that have been cut flow into one big video. *Remember to drag these to the start or end of the clip, not the middle as they won’t be added.
How can video transitions enhance the flow and continuity of a video, and where should they be placed within the clips for effective results?
Hi there!
It highly depends on what footage you are editing.
Often if your transitions are too fancy they detract from your footage & can look quite cheesy, for example ‘Barn Doors’. Sometimes simple cuts or fades are a safer bet, such as a fade to black at the end of footage to credits